Tips and Tricks
How to Clean Your Split AC Indoor Unit At Home?
Air conditioners play a vital role in maintaining the right temperature in our homes and offices, especially in the summer. Split air conditioners have become common in every home and keep the home cool in hot weather. Continued use of the air conditioner without any maintenance may cause your unit to malfunction, resulting in unnecessary costs.
Periodic maintenance and cleaning of any air conditioner is essential to obtain fresh, free-flowing air and will also help extend its life. You can easily clean the inside of a split A/C by following these steps:
Step 1: Dry the Air-conditioner
If the air conditioner has been running, it will contain moisture and possibly water. Be sure to dry the air conditioner before cleaning. Set the air conditioner to Fan Mode and let it run for 30-40 minutes, as this will help evaporate moisture.
Step 2: Disconnect the Unit from its Power Source
Be sure to disconnect the machine from the power source before cleaning any equipment. Make sure your air conditioner is unplugged before disassembling for cleaning.
Step 3: Cover the Unit with a Cleaning Bag
After disconnecting the unit from the power source, place a large trash bag or air conditioner bag around the indoor air conditioner to catch the falling dirt and drops.
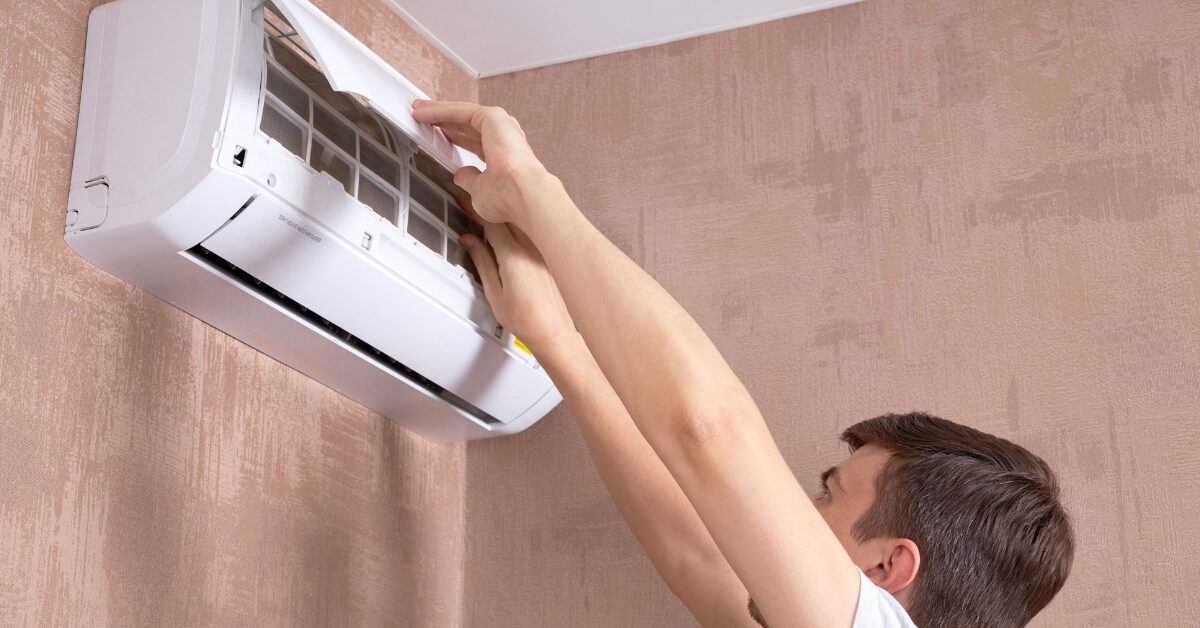
Step 4: Detach the Front Panel
Locate the latches or tabs holding the front panel of your air conditioner indoor unit, release the latches or press on the tabs and gently lift the panel to access the interior of your unit. If the panel does not slide out, grasp it with one hand and clean the inside.
Step 5: Unfasten the Air Filters
When you detach or lift the front panel of the split air conditioner, the long rectangular pieces attached to the unit become your air filters. Locate the tabs that connect the air filters to the device, push them down and remove the air filters. If you cannot find the bookmarks, see the User Guide. Use a vacuum cleaner or toothbrush to remove dust from the filters.
Step 6: Wash the Air Filters
After successfully detaching and removing dust from the unit’s air filters, wash them with mild soap and clean, cold water to remove small particles of dirt. Use a sponge or cleaning pad to clean the filters to gently remove dust. Rinse the filters thoroughly and air dry them completely before putting them back on. Avoid drying your air filters in direct sunlight, as most are not designed to dry in the sun.
Step 7: Clean the Bacteria Filters
After removing the air filters, some models also have bacteria filters that require cleaning. They can be cleaned in the same way as air filters. Allow the air filters to dry completely before reinstalling. You can also use an air conditioner cleaner and cleaner to get rid of bacteria and germs from your filters. The purifier also removes all unpleasant odors from the air conditioner.
Step 8: Clean the Cooling Fins
The cooling fins look like a set of metal lines that fit into the air conditioner and are visible when the air filters are removed. Use an air fan to remove dust from the cooling fins. You can attach a box or bag to the blower to collect any dust from the fins. Blow through all metal slings carefully without touching them. Cleaning the fins will improve the cooling process. You can gently spray the air conditioner on your ribs and let them dry so that the next time you turn on the air conditioner, it fills your room with pleasant fresh air.
Step 9: Clean the Coils
The coils are rounded metal parts that pass through the center of the indoor unit. The best way to clean these coils is with a no-rinse spray. You can find them at your local steel plant or online. Once you spray the evaporator coil cleaner, let it run and wipe it down after about 20-30 minutes.
Step 10: Antifungal Spray
The air conditioning mildew spray helps reduce the growth of mold inside the unit. Use a spray to disinfect coils and fins where toxins are most likely to form. You can also disinfect AC air filters with a mold spray. Let the spray work for about 5 minutes before reattaching the air filters to the air conditioner. You can find this spray online if you cannot find it at your local hardware store.
Step 11: Fix the Air and Bacteria
Rear Filters Make sure the air and bacteria filters are dry before reinserting them into the air conditioner. Use a dry cloth to quickly remove all moisture. Connect both filters back to AC power. They should easily return to their places, and if you run into any difficulties, see the User Guide. The next time you turn on the air conditioner, these filters should provide you with clean, fresh air. Close the filters by securing the front panel. Fix the panel and wipe it with a dry cloth.
Step 12: Flush the Drain Lines
Disconnect the piping separating the indoor and outdoor units. A pressure flush kit can help loosen AC drain lines. Pressure flush kits come with a pressure nozzle that can help remove blockages in the drain line. You can use the power of water or a cleaner and pressure nozzle to clean the drain pipe of the air conditioner. Be sure to air dry the drain line for at least one hour before reconnecting piping and turning on AC power.
Step 13: Turn on the AC to Clean Itself
After all parts are securely fastened, you need to reconnect the device to the power source and check that the AC is working properly. Set the cooling to maximum and run the air conditioner for about 15-20 minutes to drain out any dirty water that may run out when the unit is started. Have a cleaning bag or rag and bucket handy to collect all dirty water. When the air conditioner spits out all the dirty water, you will feel a cool and clean breeze blowing into the room.
If you frequently use your home air conditioner, it is important to at least regularly clean your air filters so that it always performs at its optimum level. In addition, if time permits, you can also vacuum the coils without using a no-rinse spray. Cleaning and maintaining your air conditioner is one way to extend the life of your appliance and also to control the overall energy consumption in your home.